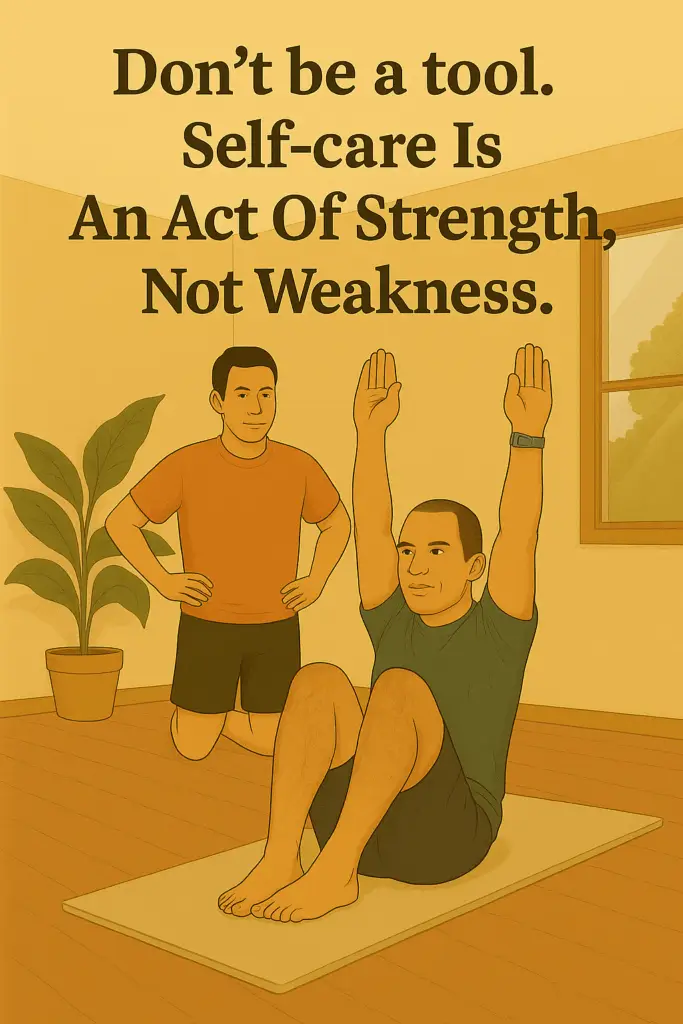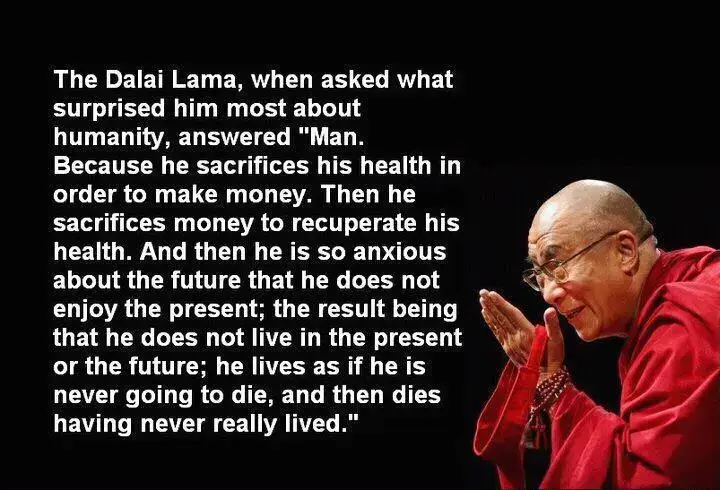
We often talk about self-confidence or resilience like it’s just a mindset — but your body has to believe it, too. That’s somatic pride. And for many men, that’s where the disconnect lies.
Cultural norms often teach men to disconnect from discomfort, push through pain, and stay strong by numbing out. Over time, this creates a gap between who we are and what we actually feel. That gap becomes tension. Disconnection. Even shame.
You can’t take pride in a body you’re constantly overriding.
You can’t feel strong when you’re always fighting your own signals.
And you can’t be fully present for others — or even yourself — when you’ve been trained to tune out.
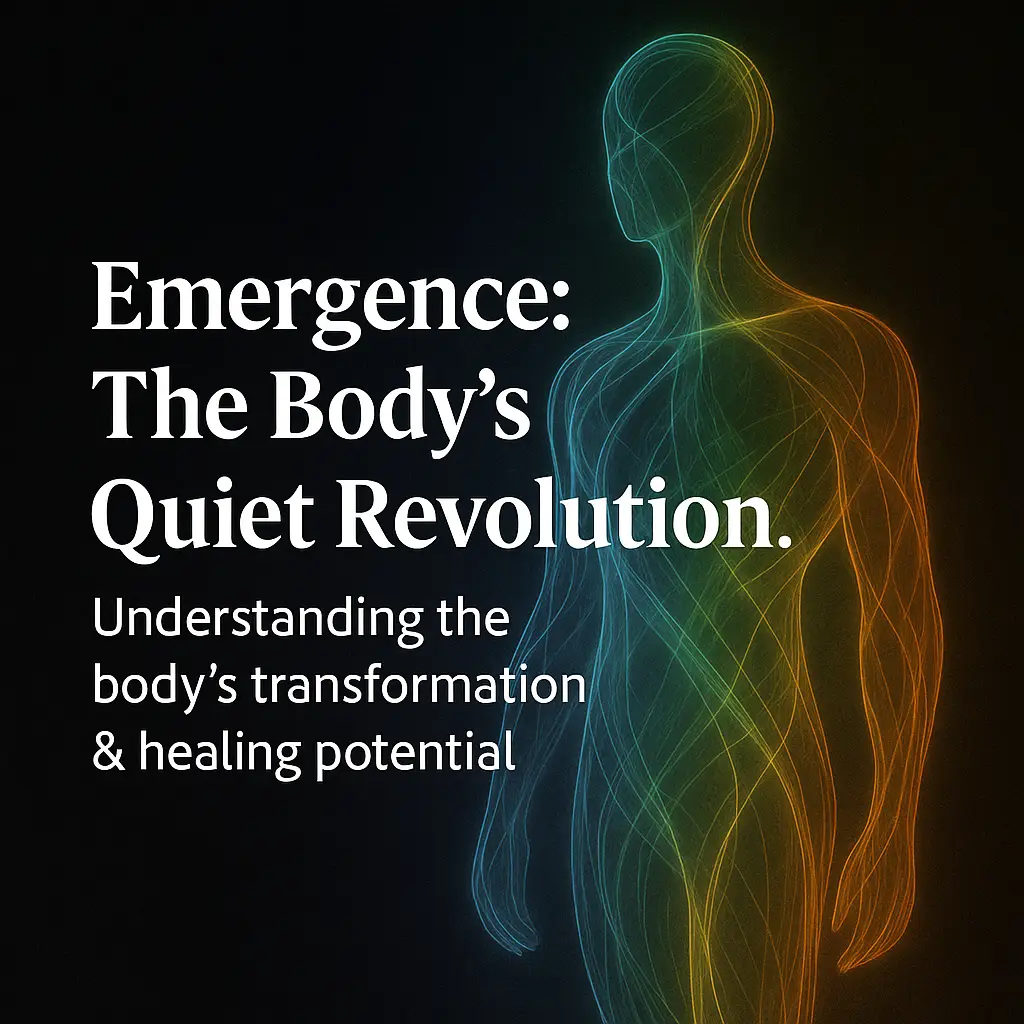
Somatic awareness changes this.
Learning to inhabit your body fully — to feel it, trust it, and work with it — creates an inner confidence that doesn’t need performance or perfection. For a thoughtful look at how somatic awareness bridges the mind–body gap, Psychology Today’s article on “Somatic Awareness: Connecting Mind and Body” is a great primer → Psychology Today – Somatic Awareness.
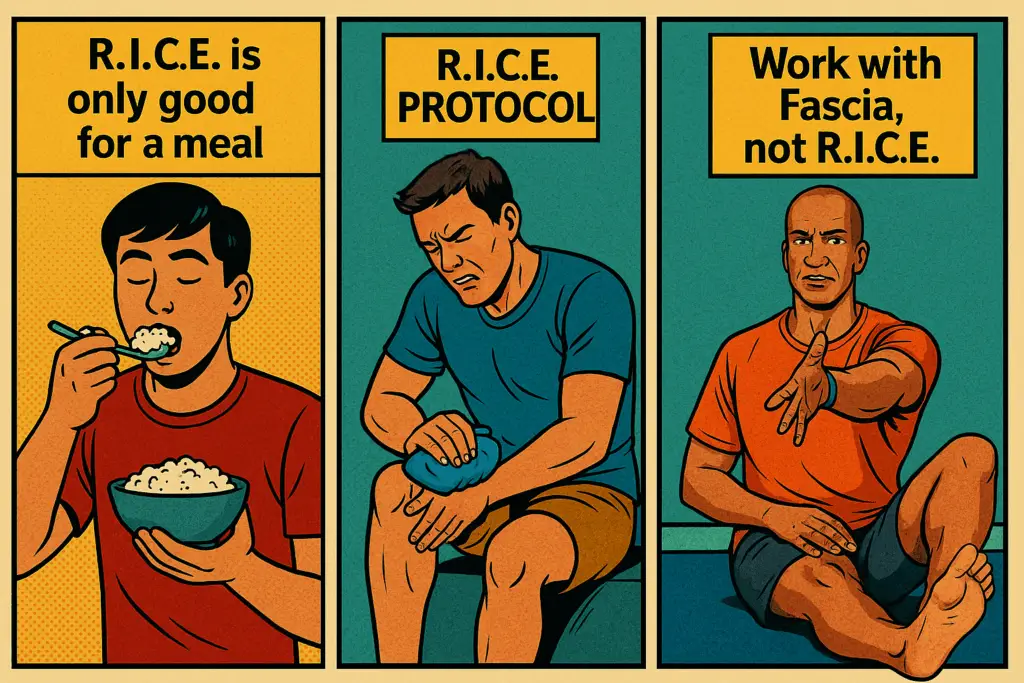
That’s why our approach to strength includes tools like ELDOA and decompression training — techniques that help your body unwind and realign from the inside out. These aren’t just exercises. They’re invitations to come back into your body.
That’s what real self-respect looks like: not a posture of dominance, but a relationship of honesty and care with your own body.
Read our guides on therapy and training to get a fuller picture
Want to explore what that kind of somatic pride feels like?
Book a free 30- 45 minute strategy call to talk about how somatic training and decompression work can help you feel stronger, more present, and at home in your body — without pushing through pain or numbing out.
This isn’t a sales call. It’s a space to get clarity, ask questions, and see what’s possible.
Follow the Thread—Where Movement, Fascia, and Freedom Align
Find more insight, reflection, and fascia-informed care across the platforms where we stay connected: