There’s this idea floating around that muscles are the star of the show. Build them. Stretch them. Strengthen them. But when it comes to fascia vs muscle, there’s no real contest — fascia is what runs the show.
Your muscles are just stupid pieces of meat.
They don’t think. They don’t initiate. They don’t stabilize or protect you. They do what they’re told — and what tells them what to do is your fascia.
Fascia is the complex web of connective tissue that gives your body structure, transmits force, absorbs impact, and controls the way you move — or don’t move. It’s what shapes your posture, influences your pain patterns, and determines your ability to recover.
And yet, most people are training around fascia — claiming they’re working it, but not following how it actually needs to be trained. Even worse, they’re often destroying it with tools or programs that pretend to target fascia but do the exact opposite.
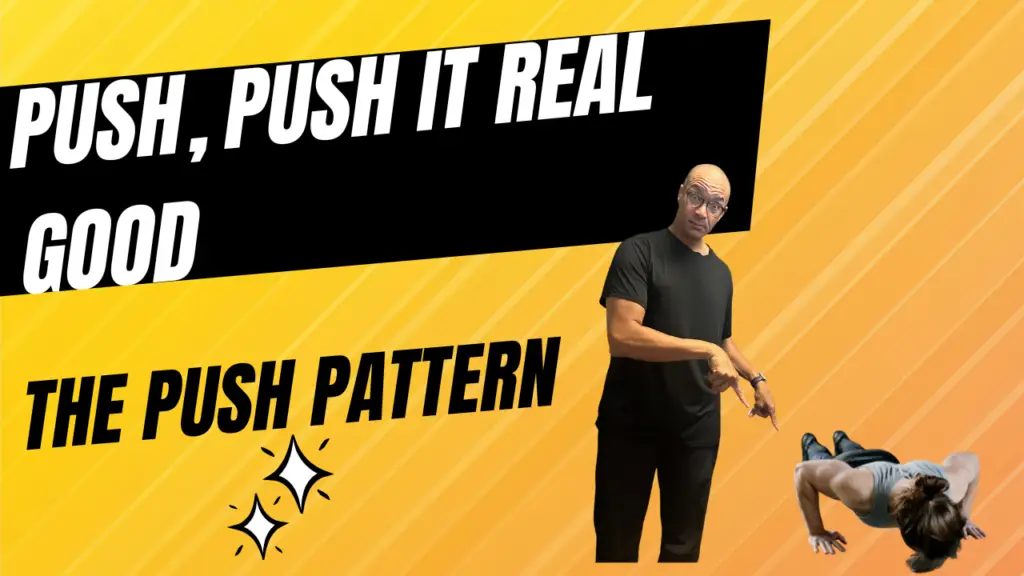
Stretching muscles, loading muscles, isolating muscles… and wondering why they’re still tight, still in pain, still not performing like they want.
💡 So What’s the Problem?
Training your body like a dumb machine ignores how your system actually works. If your fascia is tight, disorganized, or overloaded, it doesn’t matter how many reps you do or how “strong” your muscles are. You’ll keep reinforcing the same dysfunctional patterns.
That’s why most people plateau. Or get injured. Or end up in my office after going through 5 different physical therapists and chiropractors.
Because muscles aren’t the problem.
Fascia is the system.
And when you work with the system — not just the parts — everything changes.
🚫 Stop Blaming Age. Stop Blaming Injury.
I hear this every day:
“Well, I’m just getting older.”
“It’s because I used to play sports.”
Nope. It’s because you’ve never been taught how your body actually functions. You’ve been trained by a fragmented model.
But your body is whole.
It’s connected.
And it’s smarter than the programs you’ve been sold.
🔁 What To Do Instead
The solution isn’t more workouts.
It’s better input.
At SolCore, we use fascia-based movement and therapy to give your body the input it needs to reset patterns at the deepest level.
✅ More mobility
✅ Less pain
✅ Longer-lasting strength
And it doesn’t take hours a day or fancy
Ready to stop working against your body and finally train with it?
Start by learning how your fascia actually works — and why it’s been the missing link all along.
👉 [Reach out to get started] with a consult to begin truly working with your body holistically — and see how our in-house or online programs can help
Want to learn more about why fascia isn’t just “support tissue”?
Check out this scientific overview →
Fascia as a regulatory system in health and disease (2024) — and discover how fascia actively contributes to your movement, posture, and pain regulation
Follow the Thread—Where Movement, Fascia, and Freedom Align
Find more insight, reflection, and fascia-informed care across the platforms where we stay connected: