Your body doesn’t avoid pain. It protects against it.
And when you spend years protecting—resting, avoiding, icing, stretching gently, never pushing—you don’t heal. You create a fortress of compensation that feels safer but moves worse.
This is the fundamental misunderstanding behind most injury recovery and fitness approaches: the belief that comfort equals healing.
It doesn’t.
Healing requires challenge. Intelligent, progressive challenge that teaches your body it’s safe to move again.
Coach’s Corner
Amy came to me at 68. Retired. Exhausted.
She thought “just moving” was enough.
It wasn’t.
Three months of fascia-focused training later, the aches were gone.
Today? She’s 70 and learning archery in Bhutan.
Download her full case study to see exactly what changed.
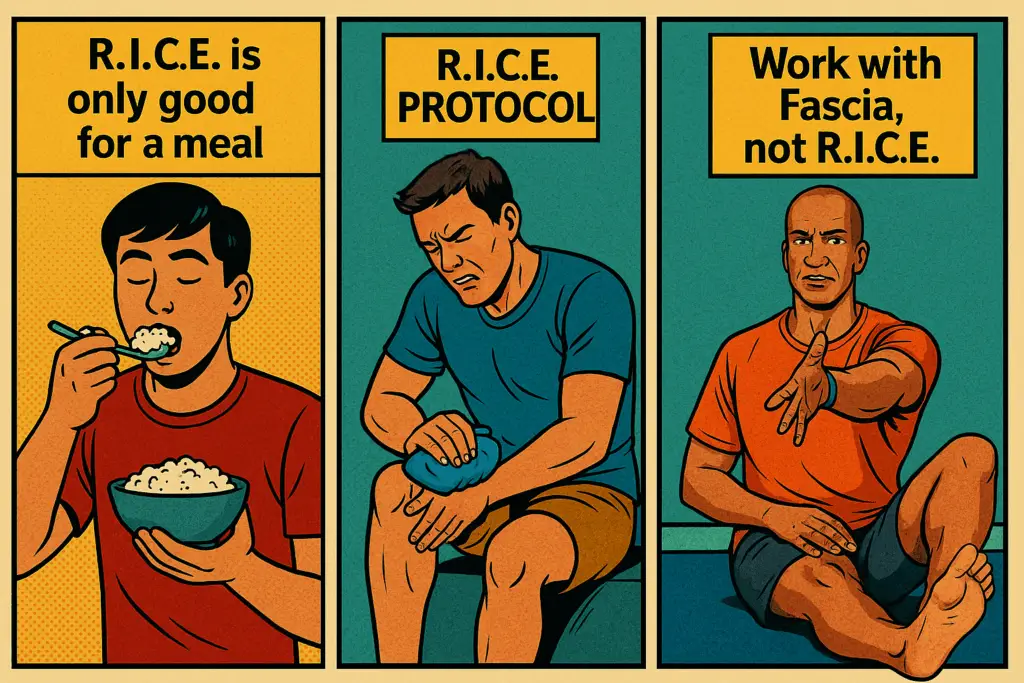
The RICE Protocol Failed You
Rest. Ice. Compression. Elevation.
For decades, this was the gold standard for injury management. And for acute trauma—a broken bone, a severe sprain in the first 24-48 hours—it has its place.
But for chronic pain? For movement restrictions that have been with you for months or years? RICE doesn’t address the problem. It reinforces it.
Here’s why:
When you rest an injury indefinitely, your body interprets that as: “This area is unsafe. Protect it.”
Fascia thickens. Muscles weaken. Movement patterns shift to avoid the “injured” area. Compensation becomes your new normal.
The longer you avoid challenge, the more your body builds around that avoidance.
And suddenly, your “healed” shoulder still doesn’t move right. Your “recovered” knee still feels unstable. Your back pain keeps coming back in different places.
You didn’t heal. You adapted to protection.
Ashley’s Story: When Avoidance Made It Worse
Ashley came to me limping. Plantar fasciitis so severe she could barely walk.
A physiotherapist had tried the standard approach: rest, ice, calf stretches, foot exercises. Gentle, comfortable, cautious.
It made the pain worse.
Why?
Because her body was already protecting. The fascia in her foot had thickened and restricted. Her nervous system had locked down movement to avoid pain.
More rest and gentle stretching just reinforced the message: “This area is fragile. Keep protecting.”
What we did differently:
We didn’t avoid the problem. We addressed it directly with myofascial stretching and manual therapy to release restriction and restore movement.
Within weeks, she was pain-free and back to her active life.
The way through was through—not around.
Why Your Body Needs Challenge
Your body adapts to the stimulus you give it.
Give it rest, avoidance, and gentle movement? It adapts by becoming cautious, protective, and fragile.
Give it intelligent challenge—progressive load, varied movement, deliberate discomfort? It adapts by becoming resilient, capable, and strong.
This is the principle of adaptation over avoidance.
Your fascia remodels in response to tension. Your nervous system recalibrates based on what you ask it to do. Your muscles and joints strengthen when they’re given reason to.
But none of that happens in comfort.
The Difference Between Pain and Discomfort
This doesn’t mean “push through pain” in the way most people think.
There’s a difference between:
Protective pain (your body saying “stop—something is wrong”)
and
Adaptive discomfort (your body saying “this is challenging, but I can handle it”).
Protective pain is sharp, sudden, or creates instability. It’s your nervous system’s alarm system. Listen to it.
Adaptive discomfort is the feeling of tissues lengthening, muscles working, or your body figuring out a new movement pattern. It’s not comfortable, but it’s not dangerous.
The problem is, most people have been taught to avoid all discomfort. So they never give their body the challenge it needs to adapt.
And then they wonder why nothing changes.
What “The Way Is Through” Actually Means
It means you don’t heal by avoiding the thing that hurts. You heal by teaching your body it’s safe to move through it.
It means:
- Stretching fascia to the point of resistance—not stopping before you feel anything
- Loading joints progressively so they learn to stabilize under challenge
- Moving through ranges of motion your body has been protecting for years
- Creating controlled discomfort that builds resilience instead of fragility
It doesn’t mean:
- Ignoring pain signals
- Forcing movement that creates instability
- Pushing through sharp, protective pain
- Moving without awareness or intention
The difference is intelligence. You’re not avoiding challenge. But you’re also not being reckless.
Why This Approach Works When Others Don’t
Most injury recovery and fitness programs focus on comfort. They reduce load, avoid discomfort, and keep everything “safe.”
And for people who’ve been in pain for months or years, that sounds appealing.
But here’s the problem: your body doesn’t need more protection. It needs to learn it’s safe to stop protecting.
That requires challenge.
When you progressively load tissue, it remodels. When you move through restricted ranges, fascia begins to glide again. When you teach your nervous system that movement doesn’t equal danger, compensation patterns start to release.
But none of that happens if you stay comfortable.
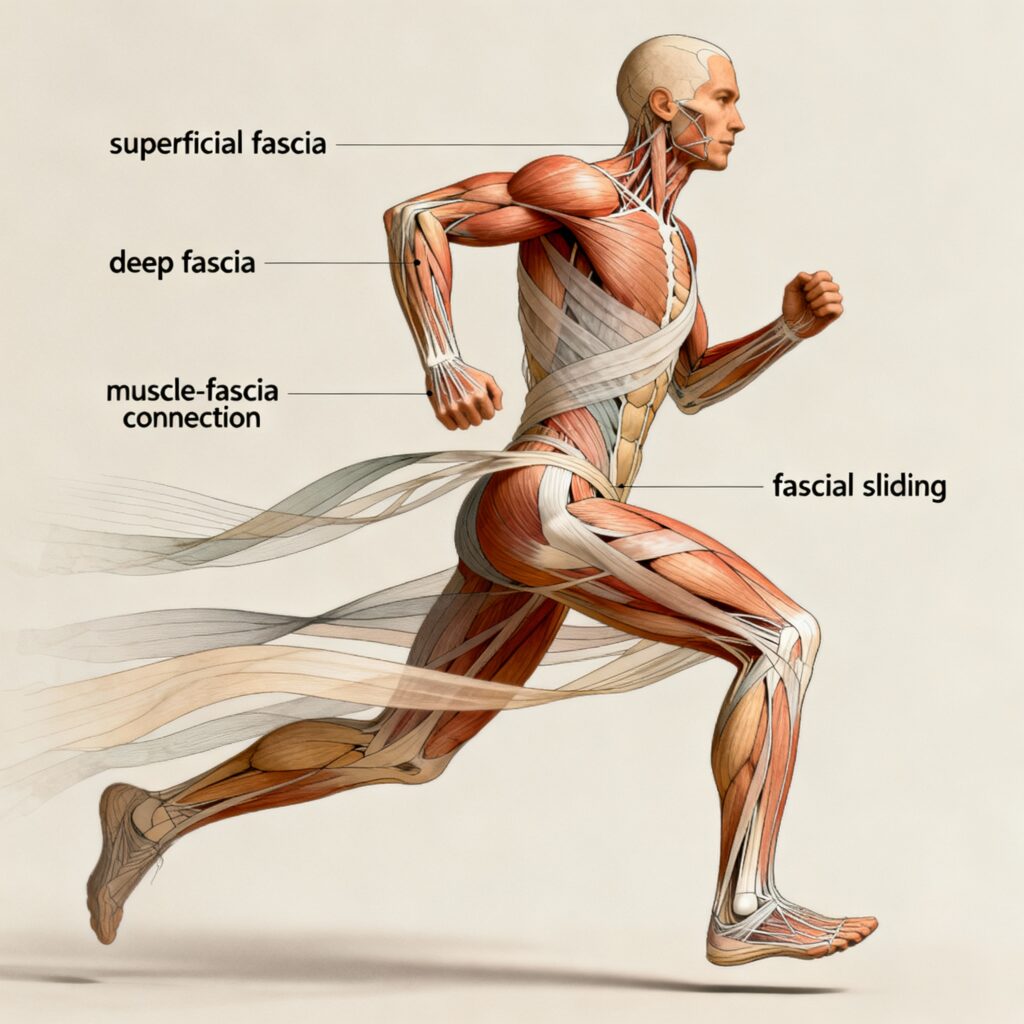
The Biotensegrity Principle
Your body works on a principle called biotensegrity—a balance between tension (fascia) and compression (bones).
When this system is balanced, movement is efficient. Force distributes evenly. You feel mobile and strong.
When fascia becomes restricted—through injury, repetitive stress, or avoidance—the balance shifts. Some areas take too much load. Others don’t get enough. Your body compensates.
And the more you protect, the more the compensation becomes permanent.
The only way to restore balance is to challenge the system. To create controlled tension that teaches fascia to remodel, joints to stabilize, and your nervous system to trust movement again.
Comfort doesn’t do that. Challenge does.
What Changes When You Stop Avoiding Challenge
When you shift from avoidance to intelligent challenge:
Movement becomes more efficient. Your body stops fighting restriction and starts moving the way it’s designed to.
Pain patterns shift. Instead of chasing symptoms, you address the system creating them.
Results last longer. You build sustainable change, not temporary relief.
You feel more capable. Your body becomes something you trust, not something you manage.
This is what holistic training actually means. Not avoiding discomfort. Not chasing comfort. Building a body that can handle what life asks of it.
Why This Approach Isn’t Popular
It’s easier to sell comfort than challenge.
It’s easier to promise “pain-free in 7 days” than to say “this will take months, and it won’t always feel good.”
It’s easier to tell people to rest than to guide them through intelligent progressive load.
But easy doesn’t work.
If rest and comfort solved chronic pain, you wouldn’t still be dealing with it.
If avoidance created strength, you’d be strong by now.
The way through is through. Not around. Not over. Through.
Ready to Experience Challenge-Based Training?
If you’ve been avoiding discomfort and wondering why nothing changes, this is why.
Your body doesn’t need more protection. It needs to learn it’s safe to move again.
Want to go deeper? Download The Fascia Fix Framework—a free 20-page guide covering all 5 principles missing from most fitness and therapy programs.
Local to Santa Fe? Book a free consultation to discuss whether SolCore’s challenge-based approach is right for you.
Want to see real results? Read Amy’s case study—how she went from exhausted at 68 to learning archery in Bhutan at 70.
Questions? Contact us at info@solcorefitness.com or call (505) 577-2171.
Follow the Thread—Where Movement, Fascia, and Freedom Align
Find more insight, reflection, and fascia-informed care: